10 Tips for Choosing Plastic Injection Molding Machines
Choosing the right Plastic Injection Molding Machines can determine whether production runs smoothly or becomes a daily struggle. The decision affects product quality, cycle time, energy use, maintenance, and operator safety. A machine may look impressive on a specification sheet, yet perform poorly with your actual material or mold.
This guide introduces ten practical tips for making a better choice. It considers clamping force, injection speed, shot size, control systems, repeatability, and energy efficiency. It also examines mold dimensions, available floor space, cooling requirements, and technical support. These details matter when a production line runs eight hours daily, with resin pellets feeding the hopper and molded parts leaving the conveyor every few seconds.
Look beyond the purchase price. It can mislead. A cheaper machine may require more maintenance, consume more electricity, or limit future product designs. A larger machine is not automatically better either. Excess capacity can increase operating costs and reduce efficiency. The best choice should match the material, mold, output target, and workplace conditions.
Reliable selection requires more than general advice. Review manufacturer data, request application testing, and compare service records when possible. Speak with experienced technicians, not only sales representatives. No checklist is perfect. Real production results may challenge your assumptions, especially when recycled materials, tight tolerances, or frequent mold changes are involved. These ten tips provide a practical starting point, while careful testing remains essential before committing to equipment.
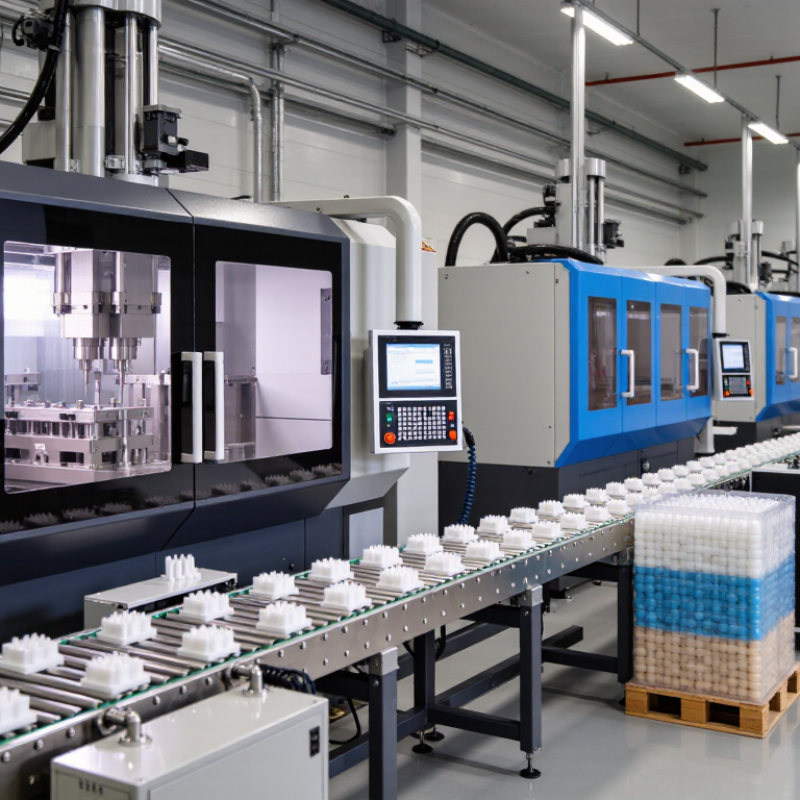
Machine Basics: Calculate 2–5 Tons of Clamping Force per Square Inch
Choosing a plastic injection molding machine starts with a practical estimate of clamping force.
A common guideline is 2–5 tons per square inch of projected mold area. Projected area means the mold’s silhouette viewed from above, including cavities, runners, and sprues.
For example, a 12-square-inch projection may require roughly 24–60 tons of force.
The lower range may suit smaller parts, low-pressure materials, or simple molds. The higher range is safer for thin walls, long flow paths, textured surfaces, or difficult materials.
Tip: Measure the full projected area, not only the finished part. A mold can open when pressure exceeds the machine’s capacity. Flash may appear along the parting line.
This formula is useful, but it is not a final answer. Material viscosity, injection pressure, mold temperature, and safety margin also affect machine selection.
In practice, engineers often compare the estimate with trial data and previous production records. A 10 percent margin can help, although excessive capacity may increase energy use and purchase cost.
Too small is risky.
Too large is wasteful.
Tip: Ask for cavity pressure data when available, then review the result with an experienced mold engineer.
I have seen rough estimates work well, but unusual geometries can expose their limits quickly. Recheck the calculation before ordering.
Part Requirements: Use 25–80% of the Barrel’s Rated Shot Capacity
Choosing a plastic injection molding machine requires more than matching the mold to the platen. The barrel’s rated shot capacity deserves careful attention. In most production conditions, the required shot should use 25–80% of that rating. This range supports stable melting, consistent pressure, and better control of the remaining cushion.
A shot that uses only 10% of the barrel may keep material inside too long. Heat history can increase, especially with sensitive engineering resins. An overloaded barrel creates different problems. Pressure may become unstable, and the machine may struggle to complete the fill. I have seen small parts molded on oversized machines with uneven color and inconsistent weight. The machine looked powerful, but the process was poorly matched.
Tip: Calculate the complete shot weight, including the runner system and a controlled cushion. Compare it with the material-specific rated capacity, not only the catalog value. A 400-gram shot in a 500-gram barrel uses 80%, which may be acceptable but leaves little room for variation. A 150-gram shot uses 30%, often providing more comfortable process control. Check actual part weight, cycle time, melt temperature, and recovery performance during trials. This guideline is not absolute. Some molds need a larger cushion, while recycled or heat-sensitive materials may require a more conservative range. Small errors matter.
Efficiency Review: Evaluate Servo Systems Offering 30–70% Energy Savings
When choosing a plastic injection molding machine, servo efficiency deserves close attention. A servo-driven hydraulic system can reduce energy use by 30–70%, depending on the machine size, material, cycle, and operating pattern. Treat that figure as a range, not a promise. Real savings require measurement.
In a practical factory review, compare kilowatt-hours per kilogram of molded parts. Record power during injection, cooling, mold opening, and idle periods. A conventional pump may keep running while the machine waits. A servo system adjusts output to actual demand, reducing wasted movement and heat. That matters. Also inspect response time, pressure stability, and repeatability across several cycles. A machine that saves energy but creates inconsistent parts may increase scrap and maintenance costs.
I once focused too heavily on the advertised efficiency percentage. That was incomplete. The mold, resin temperature, cycle time, and operator settings affected the result more than expected. Ask the supplier for test data using your mold and material. Request readings from both peak production and standby periods. Check whether the energy claim includes heaters, auxiliaries, and cooling equipment. Small details change the calculation.
Look for a service team that can verify performance after installation. Review motor protection, control diagnostics, spare-part availability, and training support. A lower purchase price may hide higher electricity costs over years of production. Compare total ownership costs, not only the quotation. Leave room for doubt. Reliable decisions come from measured data, repeatable trials, and clear operating assumptions.
10 Tips for Choosing Plastic Injection Molding Machines
Efficiency Review: Servo Systems Offering 30–70% Energy Savings
The chart compares representative electricity consumption for conventional hydraulic and servo-hydraulic injection molding machines across common machine sizes. Servo systems reduce energy use mainly by matching pump output to the required injection, holding, and cooling load. Actual savings vary with material, cycle time, mold design, machine utilization, and operating conditions.
Lifecycle Check: Confirm Safety Standards, Controls, Maintenance, and Parts Support
Choosing an injection molding machine should begin with its working life, not a showroom demonstration. In production audits, I have seen impressive cycle times hide weak guarding, unclear alarms, and difficult access. Confirm safety standards, risk assessments, emergency stops, interlocks, and pressure protection. Ask for certificates and operating records, not verbal assurances.
Safety paperwork alone is not enough. Test every safeguard with trained personnel before acceptance. A small delay here can prevent a serious production event later.
Controls deserve the same scrutiny. Review the interface, recipe permissions, data logging, and alarm history. Operators should adjust approved settings without bypassing protective limits.
Check whether the controller records temperature, pressure, cycle time, and faults consistently. Run sample jobs using real materials and molds. Screens can look simple during a short trial. They may feel confusing at 2 a.m. That matters.
Poor usability creates setup errors, scrap, and fatigue.
Maintenance planning should include lubrication points, filter access, calibration intervals, and service procedures. Request a parts list with lead times, interchangeability, and storage recommendations. Confirm technical support after the warranty period.
A low purchase price can become expensive when one sensor stops production for weeks. Inspect ordinary details, including panel labels and drain access. They seem minor. They are not.
My own checklists have missed small access issues before, so I now ask maintenance technicians to review the machine before approval.