
English


A Wood Strip Wall can change a plain room with warm grain, clean lines, and a little depth. The installation still depends on careful preparation. A bowed wall can leave uneven gaps, while a misplaced first panel can shift every strip that follows. Measure the full surface, check for level, and locate studs before cutting. Small checks matter.
Design expert Charles Eames said, “The details are not the details. They make the design.” That idea applies to wood strip panels, too. Consistent spacing, aligned edges, and neat cuts around outlets shape the finished look. Yet appearance is only part of the job. Check the panel maker’s instructions for approved adhesives or fasteners, and confirm the wall is dry, sound, and suitable for the chosen system. There is no single method for every panel or substrate.
This guide explains how to plan the layout, prepare the wall, make accurate cuts, and secure each panel. You’ll also learn where to pause and recheck alignment. A simple dry fit can reveal a problem before it becomes permanent. Even careful work may expose an uneven corner or a visible seam. That is worth noticing, not hiding. Good installation is less about rushing toward a perfect photograph and more about making sound decisions at each step.
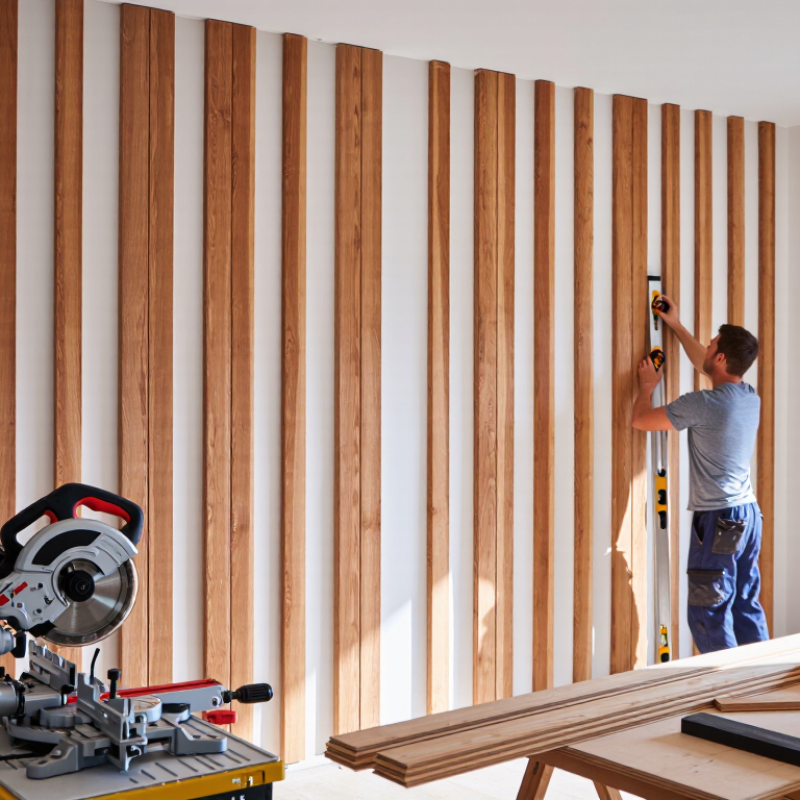
Before installing wood strip wall panels, inspect the wall in daylight and with a long straightedge. Check for bulges, dips, loose plaster, damp patches, and peeling paint. A wall that looks flat can still bow; don’t rely on sight alone. Repair uneven areas and address moisture before covering them. The USDA Forest Products Laboratory’s Wood Handbook (FPL-GTR-282) explains that wood moisture content shifts with surrounding humidity. Its equilibrium-moisture tables show roughly 6–9% moisture content at 70°F and 30–50% relative humidity. Let the panels adjust to the room as their installation instructions require.
Next, map the layout before cutting. Measure wall width and height at several points, since corners and ceilings are rarely perfectly square. Mark outlets, switches, trim, and door openings. Find and mark studs with a detector, then confirm their positions; the 2021 International Residential Code allows framing configurations to vary, so assumed spacing can lead to missed fixings. Sketch the panel run and calculate its end pieces. A narrow final strip can look unbalanced, so shift the starting line to create more even cuts at both ends. Dry-fit a few strips, check the plumb line, and revise if needed. It may feel slower. It usually prevents awkward gaps and avoidable recuts.
QUICK LINKS
CONTACT US
Office: (+86) 755 23040566
Tel: (+86) 158 9965 5195
E-mail: sale@pcbledmodule.com
Skype: Hans@Rocket-PCB
Whatsapp: 86 1589965 5195
Office Address: 2207,Bid 4,He Gu Shan Hui Cheng,35#,Guang Tian RoYanluo street, Song Gang Town,518105 SHENZHENG, CHINA
Plant ADD.: No 69, Lianfeng North Road, Xianxi Area, ChangAn Town, Dongguan, China.


Copyright © 2025 Rocket PCB Solution Ltd. | All Rights Reserved Sitemap Friendship link: CNC machining heat sink