

loading

BLOG

How to Choose Electronic Pouring Sealants?

Choosing Electronic Pouring Sealants is a reliability decision, not a color or price comparison. The Global E-waste Monitor 2024 reports that the world generated 62 million tonnes of electronic waste in 2022; only 22.3% was documented as properly collected and recycled. Longer-lasting electronics matter. A sealant cannot solve the e-waste problem alone, but it can help protect sensitive components from moisture, dust, vibration, and thermal stress.

Start with the assembly’s real conditions. A small sensor near a warm motor may need low-viscosity material that flows around fine components. A power module may need stronger thermal performance and resistance to repeated temperature changes. Compare cure schedule, adhesion, dielectric properties, hardness, and service-temperature range. Then test the material on representative parts. Datasheet values are useful, but they do not guarantee performance on your substrate or production line.

Richard Feynman, a physicist known for his insistence on rigorous testing, cautioned: “The first principle is that you must not fool yourself—and you are the easiest person to fool.” It is a useful reminder, though not a sealant-specific industry quotation. Ask suppliers for current technical data, safety information, and application guidance. Check whether the proposed material suits your dispensing equipment and curing process. Small details matter: trapped air beside a connector can become a failure point. And one imperfect test sample should prompt a closer look, not a confident conclusion. This guide examines how to compare Electronic Pouring Sealants with evidence, practical trials, and the limits of available product claims.
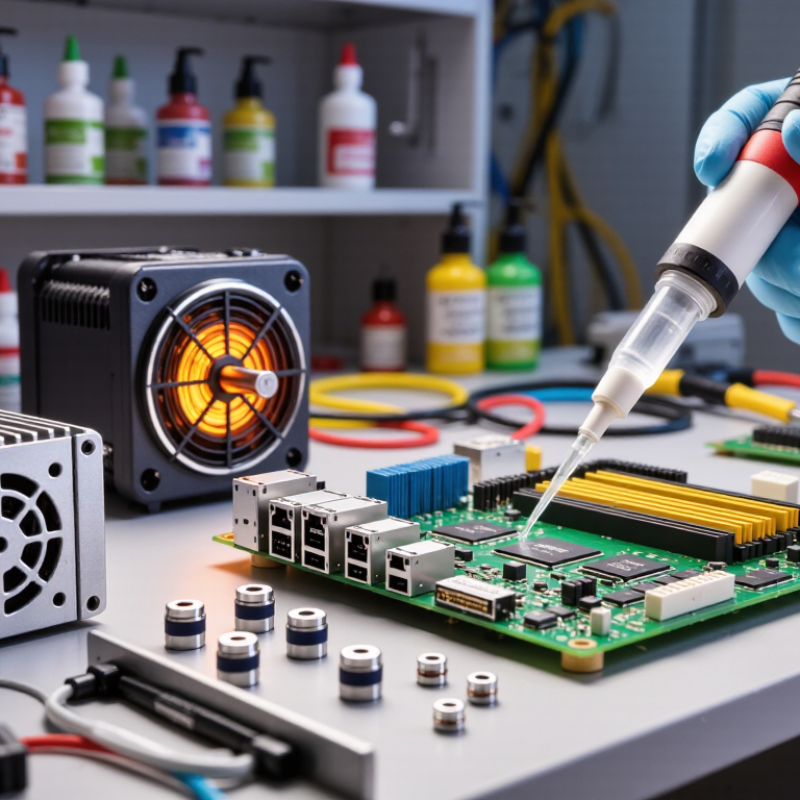
How to Choose Electronic Pouring Sealants?

Define the Protection Needs of the Electronic Assembly

Before choosing an electronic pouring sealant, define what the assembly must survive. Will it face condensation, dust, salt air, repeated vibration, or sudden temperature changes? A sensor mounted near a warm motor may need different protection from a control board inside a dry cabinet. Be specific. “Outdoor use” is not enough detail.

Map the vulnerable areas on the assembly. Mark connectors, solder joints, sharp component edges, and narrow gaps where liquid could trap air. Then consider electrical insulation, operating temperature, and heat flow. A thick sealant layer can protect components but may also slow heat release. That trade-off is easy to miss. Check whether the material can adhere to the board, wires, and component coatings; compatibility should be tested on a representative sample, not assumed from a data sheet alone.

Think about what may need repair later. A rigid cured compound can make component replacement difficult, while a softer material may offer less support under vibration. Note the cure time and whether the pour can reach hidden spaces without leaving bubbles. Test the complete assembly through relevant temperature and moisture cycles. Real conditions can be messy, and an early test may not reveal every weak point. That uncertainty should shape the protection plan.

Assess Operating Conditions and Environmental Exposure

How to Choose Electronic Pouring Sealants?

Assess Operating Conditions and Environmental Exposure

Start with the joint, not the product label. Measure its width and expected movement, then check temperatures during installation and service. ASTM C920 classifies sealants by movement capability: Class 25 accommodates movement of ±25% of joint width, while Class 50 accommodates ±50%. ASTM C719 provides a cyclic movement test method. These figures help screen options, but they do not predict performance in every joint. A 20 mm joint facing strong afternoon sun may behave differently from one kept cool and dry. Check the sealant’s technical data for application limits, cure conditions, and compatibility with adjacent materials.

Moisture, UV exposure, standing water, and cleaning chemicals can shorten service life. Note where water collects after rain, and whether the joint sees repeated washing or temperature swings. A sealant that performs well indoors may fail outdoors. That sounds obvious, yet it is often missed. Keep a simple site log of surface temperature, weather, and substrate condition during installation. Small details matter.

Tips: Confirm the substrate is clean and dry, unless the specified system allows damp application. Compare expected joint movement with the ASTM movement class, then verify chemical and weather resistance in the technical data. If conditions are uncertain, test a small area first. Field results can be messy. Recheck the joint after curing.

Compare Potting Sealant Types and Material Compatibility

How to Choose Electronic Pouring Sealants?

Potting sealants differ in flexibility, heat resistance, and bonding behavior. Silicone stays elastic through temperature changes, making it useful around components that expand or vibrate. Epoxy usually forms a rigid, protective shell, but stress can build around delicate parts. Polyurethane offers a middle ground, though moisture and cure conditions can affect its results. No type fits every assembly.

Compare the sealant with every material it will touch: circuit-board coatings, wire insulation, connector housings, and metal surfaces. Some formulations bond poorly to plastics or may soften certain coatings. Check the technical data for cure temperature, shrinkage, viscosity, and electrical properties. A datasheet narrows the options, but it cannot predict every surface variation. Test a small sample using the actual assembly materials.

Tips: Clean and dry a sample board before testing. Pour a small amount, then inspect for bubbles, tacky areas, discoloration, or stressed components after curing. Verify that connectors remain serviceable if repairs matter. Keep a record of mix ratio and cure time; a missed detail can explain inconsistent results.

Evaluate Electrical, Thermal, and Mechanical Properties

How to Choose Electronic Pouring Sealants?
Evaluate Electrical, Thermal, and Mechanical Properties

Start with electrical test data, not a vague “insulating” claim. ASTM D149 measures dielectric breakdown strength; ASTM D257 measures volume resistivity. Compare results at the same specimen thickness and conditioning, since humidity and temperature can change performance. A high breakdown value alone is not enough. Check whether the report reflects your operating voltage and the sharp edges or close gaps in your assembly.

Thermal performance affects both component temperature and curing stress. Request thermal conductivity or thermal impedance data measured using ASTM D5470, and review the test temperature. Then check the sealant’s service-temperature rating and thermal-aging evidence, such as UL 746B data where applicable. Mechanical reports matter too: ASTM D1002 lap-shear results can help compare adhesion, but they do not fully predict performance on your actual substrate. A rigid cure may crack around a vibrating connector; a softer material may ease stress but provide less support. That trade-off is easy to miss.

Tips: Ask for complete test reports, including method, sample thickness, cure schedule, and conditioning. Test a small assembly with your real metals, plastics, and wire insulation. Useful data beats impressive claims. And one imperfect point: lab coupons rarely reproduce every production detail.

How to Choose Electronic Potting Sealants?

Compare electrical insulation, heat transfer, and mechanical strength when selecting a cured potting material.

Bubble size indicates representative tensile-strength ranges. Values are indicative midpoints and typical ranges for material families, not product specifications; actual properties vary by formulation, test method, and cure. Verify the datasheet and test conditions for the specific application.

Verify Application, Curing, and Testing Requirements

How to Choose Electronic Pouring Sealants?

Verify Application, Curing, and Testing Requirements

Choose a sealant for the actual assembly, not just its datasheet headline. Check substrate materials, gap depth, dispensing temperature, and exposure to heat, moisture, or cleaning fluids. A narrow cavity may trap bubbles; a deep pour may cure unevenly. Confirm the recommended mix ratio and working time, then test the material in a sample enclosure. Small details matter.

Curing is a process requirement. Record ambient temperature, humidity, cure time, and the sealant’s measured hardness or tack-free condition. NASA’s Outgassing Database reports results using ASTM E595, a test that exposes materials to heat under vacuum. NASA screening commonly considers total mass loss of 1.0% or less and collected volatile condensable material of 0.10% or less for relevant space applications. These are not universal limits for commercial electronics. Match test criteria to the product’s real environment, and verify them with the customer’s specification. A datasheet alone may not settle the question.

Tips: Pour a small trial batch, inspect a cut section for voids, and test adhesion on the actual substrate. Keep a cure log. It may feel excessive, but it can reveal process drift before full production.

How to Choose Electronic Pouring Sealants? — Verify Application, Curing, and Testing Requirements
Selection Factor What to Verify Typical Options or Considerations Practical Check
Application and component design Part geometry, cavity depth, component spacing, connector access, and whether rework is needed. Low-viscosity materials can flow into narrow gaps but may leak through openings. Higher-viscosity or thixotropic grades can help control flow in vertical or open areas. Use a representative assembly to check fill, air entrapment, leakage, and coverage around components.
Resin chemistry Electrical, thermal, chemical, mechanical, and environmental demands of the finished assembly. Epoxies are commonly selected for rigid, well-bonded encapsulation. Polyurethanes can provide more flexibility. Silicones generally retain flexibility across a broad temperature range; properties vary by formulation. Compare cured-property data and test samples with the actual substrate, components, and operating environment.
Mixing and dispensing One-part or two-part system, mix ratio, pot life, viscosity, degassing needs, and dispensing equipment. Two-part systems require accurate proportioning and uniform mixing. Entrained air can create voids; fillers may settle if material handling is unsuitable. Confirm ratio-control capability, material temperature, dispense pattern, and usable working time on the production line.
Curing conditions Required cure temperature and time, humidity sensitivity, oven capacity, and cure uniformity in the assembly. Depending on formulation, materials may cure at room temperature, with heat, or through moisture exposure. Cure schedules and depth-of-cure behavior are product-specific. Follow the technical data sheet and verify cure on representative parts; do not infer full cure from a tack-free surface alone.
Thermal and mechanical behavior Operating-temperature range, thermal cycling, vibration, shock, and stress on solder joints or components. Hardness and modulus affect how strongly the cured material constrains components. Thermal expansion mismatch between encapsulant and assembly can contribute to stress. Review the assembly’s temperature and mechanical profile, then test the completed assembly for cracking, separation, or functional change.
Electrical and environmental performance Required insulation, moisture exposure, chemicals, outdoor conditions, and any applicable safety or regulatory limits. Dielectric strength, volume resistivity, water absorption, and chemical resistance are formulation- and test-condition-dependent; datasheet values are not interchangeable without matching methods. Test cured material and finished assemblies under relevant conditions. Consider dielectric testing such as ASTM D149 or IEC 60243-1 where applicable.
Validation and quality control Acceptance criteria, production sampling, traceability, inspection method, and change-control requirements. Useful checks may include mix-ratio records, cure verification, visual inspection, hardness, adhesion, and electrical tests selected for the application. Build a documented qualification plan. Use applicable methods—for example, ASTM D2240 for durometer hardness—and define limits based on product requirements.
Final selection Compatibility with the full assembly and repeatability at expected production scale. Choose the material and process together; a suitable resin can still fail if dispensing, cure, surface preparation, or inspection is poorly controlled. Treat typical material descriptions as screening guidance, not specifications. Confirm current product data and validate the complete process with representative assemblies.
Chat Online
Chat Online
Leave Your Message inputting...
Thank you for your attention. Please kindly describe your question first, or please send your inquiry to our email sale@pcbledmodule.com, and we will reply to you ASAP. Welcome, what can I help you?
Sign in with: