
English


A precise carpet cut begins before the blade touches the floor. The Carpet Cutter, the blade condition, and the way the material is supported all affect the result. A dull or poorly positioned blade can snag the pile, leave a ragged edge, or wander away from a marked line. Small errors matter. They can show at seams, doorways, and along baseboards.
These ten practical tips focus on preparation, control, and careful checking. They cover choosing a suitable cutter, marking measurements clearly, securing the carpet, and guiding each cut with steady pressure. A straightedge can help, but it should be stable and appropriate for the job. Always follow the cutter maker’s instructions, keep hands clear of the blade path, and replace blades when they drag rather than cut cleanly. Test the technique on a carpet offcut first. It takes a moment.
Experience also teaches restraint. Pressing harder is not always better; several controlled passes may protect the backing and reduce fraying. Check the pile direction and the underside before cutting, since carpet construction varies. Even careful work can need a second look. A measurement that seemed exact may shift when the carpet relaxes or is fitted around a corner. These tips aim to make clean cuts more repeatable, while leaving room to pause, inspect, and correct the approach when the material behaves differently than expected.
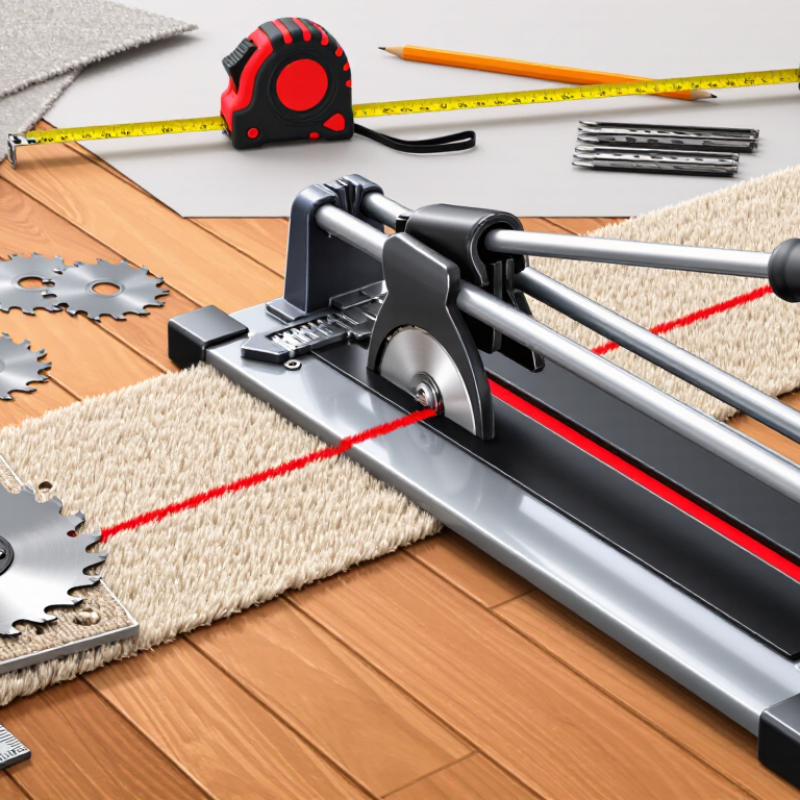
Carpet cutters differ in how they hold the blade and guide it through the pile. A standard utility knife is versatile, but its narrow blade can wander if you rush a long cut. A dedicated carpet knife often has a shaped grip that helps keep your wrist steady. For trimming around door frames, a hooked blade can catch the backing while leaving the visible pile less disturbed. It is not ideal for every job, though; thick or stiff backing may need a straight blade and several controlled passes.
Blade choice matters as much as the handle. Use a sharp blade for cleaner edges, and replace it when the cut begins to drag or fray. Dull blades invite extra pressure. That can make the knife slip. Retractable cutters offer a way to cover the edge between cuts, while fixed-blade tools can feel more stable for repeated trimming. Check that the blade is seated securely before starting. Cut from the back when practical, and test the tool on an offcut first. I still find that carpet fibers can hide a crooked line until the piece is turned over, so measure twice and keep the first pass light. A perfect-looking cut is not guaranteed; carpet backing varies more than it seems.
QUICK LINKS
CONTACT US
Office: (+86) 755 23040566
Tel: (+86) 158 9965 5195
E-mail: sale@pcbledmodule.com
Skype: Hans@Rocket-PCB
Whatsapp: 86 1589965 5195
Office Address: 2207,Bid 4,He Gu Shan Hui Cheng,35#,Guang Tian RoYanluo street, Song Gang Town,518105 SHENZHENG, CHINA
Plant ADD.: No 69, Lianfeng North Road, Xianxi Area, ChangAn Town, Dongguan, China.


Copyright © 2025 Rocket PCB Solution Ltd. | All Rights Reserved Sitemap Friendship link: CNC machining heat sink